
I don't know about you all, but I keep seeing sourdough everywhere and simply needed to try to make some gluten-free sourdough for myself! I use my gluten-free sourdough starter for this. I finally found a flour that seems to work, this King Arthur gluten-free bread flour is the way to go. I've only tried with this, so I can't guarantee any other flours will work!
Ingredients
Here are the ingredients you'll need:
- King Arthur gluten-free bread flour
- warm water
- gluten-free sourdough starter (my recipe is here)
- rasins
- cinnamon
- non-dairy butter
- brown sugar or coconut sugar
See recipe card for quantities.

Storage
Store in an airtight container for up to 5 days!
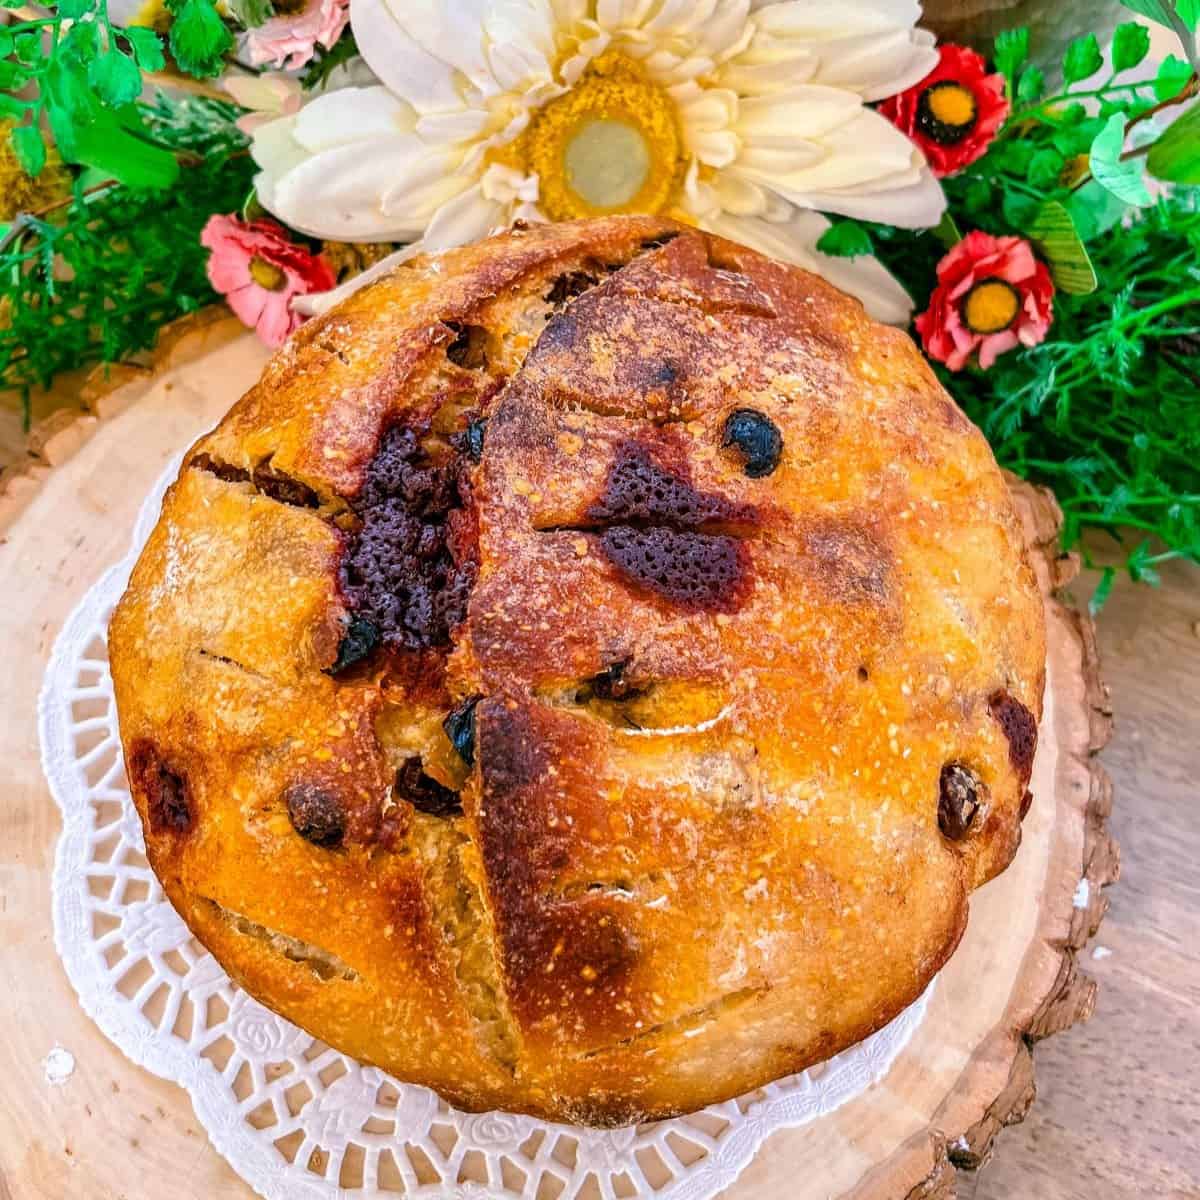
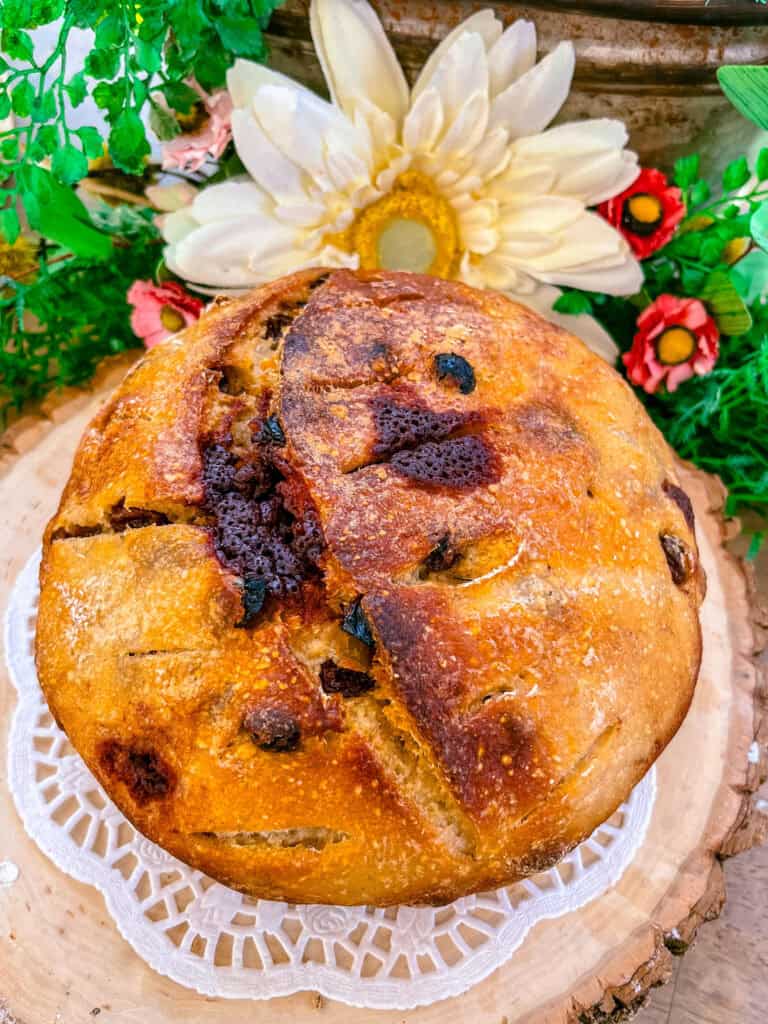
Gluten-free Cinnamon Raisin Sourdough Loaf
This cinnamon raisin sourdough loaf is not only delicious, but also gluten-free, dairy-free, and so simple to make!
Ingredients
Method
- In a stand mixer, combine the sourdough starter, flour, water, and salt until you have a very sticky dough. If the dough is too wet, slowly add more of the bread flour until it holds together. Cover and let sit for about 30 minutes.
- Flour a surface with gluten-free flour and begin kneading the dough. Cover your hands in flour and be patient, this dough is super sticky and wet, it will slowly turn into a more cohesive dough! Once you can better handle the dough, begin flattening it and then folding one side over the other. Then, rotate the dough, flatten again, and begin adding in the raisins as your repeat this process a few times.
- Once you've worked the dough for a bit, folded in the raisins, and folded several times, place the loaf in a bowl and cover with saran wrap. Let the dough proof in a warm (not hot) area for about 4 hours.
- Remove the proofed dough and lightly deflate with fingers. It probably won't have risen that much, but that's okay! Mix together your cinnamon sugar mixture. Flatten out your dough and spread half of the cinnamon sugar mixture evenly over top. Fold in the two sides and add another layer of the mixture. Roll the loaf into a ball and return to a bowl lined with a towel and loosely cover it. Place in the fridge to proof for 22-24 hours.
- The next day, place a 3-5 quart dutch oven in the oven to preheat at 500℉ for about 45-50 minutes.
- Place your dough onto a piece of parchment paper and begin scoring it however you'd like! I just use a knife. Slice slashes into the dough about ½ inch deep.
- Remove your dutch oven from the oven and place your loaf on the parchment paper inside. Add 4 ice cubes in between the parchment paper and the walls of the dutch oven. (This helps make a crispy crust.) Cover with the lid and place in the oven at 450℉ to bake for about 40 minutes.
- After 40 minutes, remove the lid from the dutch oven and bake for about 15-20 minutes, or until you have a crispy, golden crust. You can use a thermometer to check the internal temperature to make sure it's done. You want it to be around 210℉. Let the loaf cool completely before slicing!
Lisa Fernandes
It was like soup. I had to add an extra 2 cups of flour. Let’s hope it still works out!